How to Make a Bath Bomb
Add a little bit of fizz and fun to your bath time routine with all natural homemade bath bombs! Bath bombs are oh-so easy to make, super customizable, and smell amazing… plus they make great gifts!
While there are endless recipes on the web, here is one for all natural bath bombs from Makesy.
There are so many creative ways you can customize your bath bombs at home with enhancers such as eco dyes and eco glitters, but let’s start with the basics.
Read the full instructions below prior to diving into the fizzling fun!

diy bath bomb recipe
- Eco plastic bath bomb mold
- 4.5 oz sodium bicarbonate (75%) - this is just baking soda!
- 1.5 oz citric acid (25%)
- .05 oz polysorbate
- .1 oz all natural fragrance oil
- 1 ml rosehip oil
- Witch hazel base
- Eco glitter (optional)
recommended tools
- Bamboo mixing spoon
- Glass pouring pitcher
- Pipette or measuring spoons
- Apron and safety glasses
- Gloves (optional)
instructions
- Combine dry ingredients (sodium bicarbonate and citric acid) in a small bowl and mix until you have a fine texture (gloves recommended).
- Add your wet ingredients (polysorbate, fragrance, and rosehip oil) into the mixture with your dry ingredients.
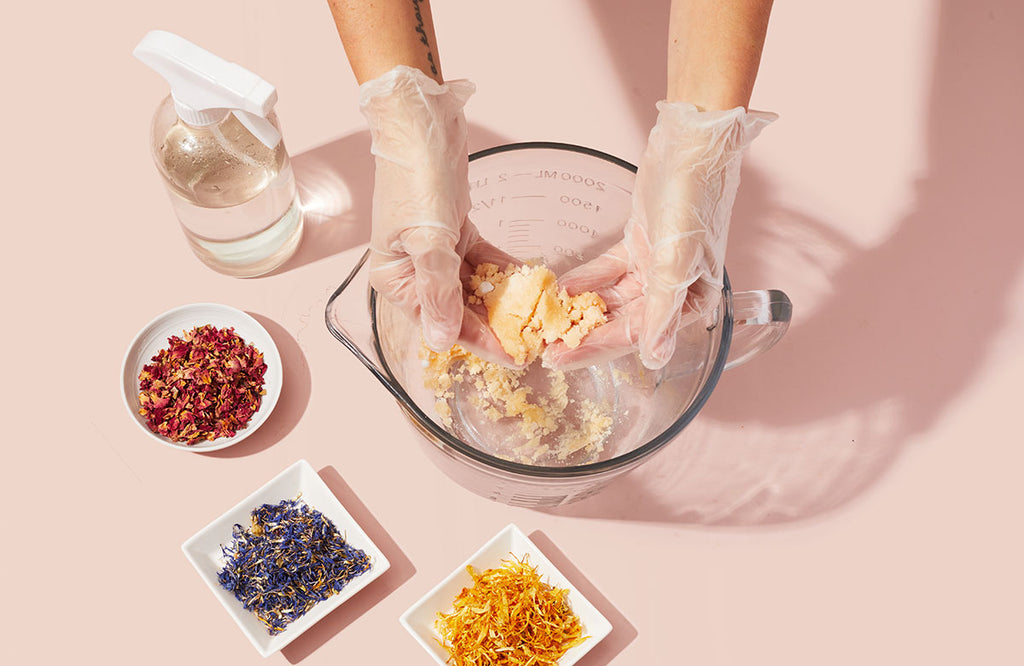
- Fold in hands until the product starts clumping together like wet sand. Spray with witch hazel, as needed to provide more structure if you are finding that your consistency is too dry.
- Now is the time to add in that beautiful emerald eco-glitter (or the eco-glitter of your choice) to give your bath bomb that pop of color and sparkle! Once you are happy with the color and consistency, you’re ready to move on.
- Then, begin pressing your mixture firmly into the both sides of your mold until each side is tightly packed.
- Layer a generous amount of product lumped in the center of each side of the mold (this is what will allow the two sides to stick together when you close the mold.
- Wipe away any extra powder at the seams of the mold.
- Match eyelets of the mold and press together.
- Fill mold until the mixture is completely used up.
- Allow your bath bombs to dry and harden for between 2 and 24 hours, then very carefully remove them.
- Ta-da! It's time to go take a relaxing bath!
pro tips
- Your bath bomb should feel like wet sand that can hold its shape. Do not move on to the final steps until that has occurred.
- If it is not damp enough, use the witch hazel spray and mix it again. It’s incredibly important for the mixture to be able to hold its shape when placed in the mold.
- Pack it all in! Make sure it is completely full in the mold on both sides.
- When using plastic molds, it is important not to press inward on the mold, as it will show in the final product’s shape.
videos
Are you a visual learner? Watch Charlotte walk through how to make an all natural bath bomb in this video!
Or take a peek at Mel’s how-to video talking all things bath bombs with enhancers.
And if you are looking for a fun craft to do with your littles, check out how to make a confetti bath bomb! There are so many fun ideas and ways to get creative making bath bombs.
Have fun and happy making!

