How To Prevent Soda Ash In Soap

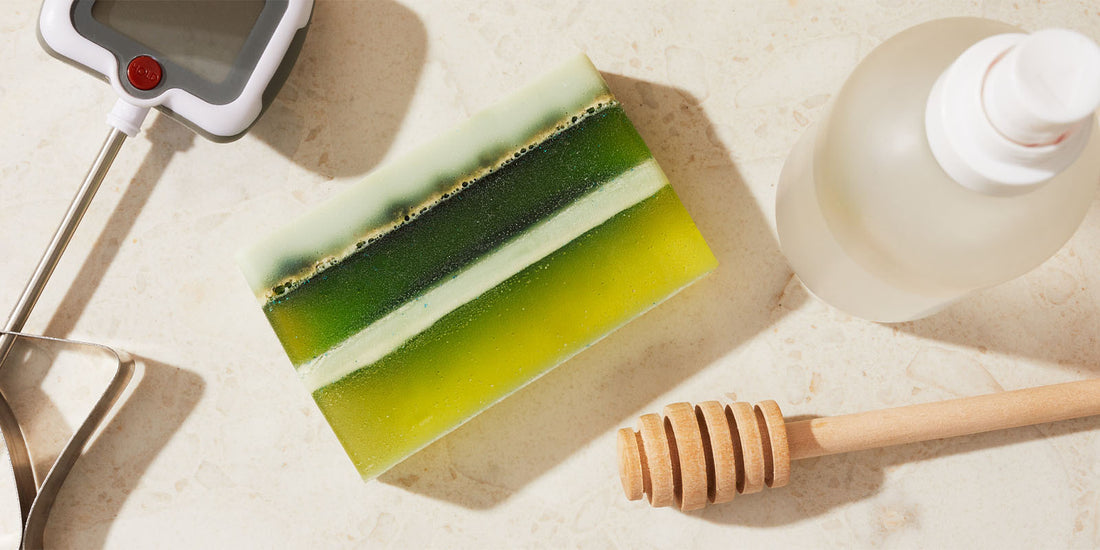
If you make cold process soap, there’s a good chance you’ve seen soda ash appear at some point in time. You know that uneven, white, ashy-looking film that pops up on the surface of your bars?
Fortunately, there are ways to prevent soda ash in soap and we have those tips for you below. But first, let's start with the basics.
where does soda ash come from?
Soda ash forms when unsaponified lye reacts with naturally-occurring carbon dioxide in the air. It usually forms within 1 to 3 days and although soap with ash is completely safe to use, it can look a little odd or unsafe to someone who doesn’t know what it is.
While soda ash typically shows up on top of soap, in some cases it can also run all the way through soap or it can even make soap feel crumbly.
tips to prevent soda ash in soap
If you’re anything like us, the only time we want to feel a crumbly texture is in cookies, so let's look at what can be done to avoid soda ash.
be mindful of temperatures
Soda ash usually forms in lower temperatures and when the soap is poured at thin trace viscosity. You may notice it more in swirl designs that require thinner soap to create swirl effects.
To help prevent it, make sure your lye and oils are 100°F or higher. We recommend soaping around 115°F - 120°F, then pour the soap when it’s closer to medium trace viscosity.
use rubbing alcohol
You can also prevent soda ash by immediately spraying the top of your soap with 99% isopropyl alcohol right after you pour it, then by spraying it again after about 10 - 15 minutes. The alcohol will help create a protective barrier on top of your soap bars.
cover your soap with cardboard & a towel or blanket
Covering soap with a piece of cardboard and a towel or blanket helps keep the soap warm and forces gel phase. If your house/workspace is usually a cooler temperature, you may also want to place your mold on a heating pad set to medium for 30 - 60 minutes. Then, turn the heating pad off and leave the soap on it for 24 hours to keep it insulated.

use pre-made melt & pour soap bases
Finally, instead of making your soap from scratch, you can use a pre-made Melt & Pour base that has already been lab tested and crafted to eliminate soda ash and other various soap making frustrations.
We love the nourishing, moisturizing benefits offered in our clear and opaque melt & pour soap bases that are 100% natural and extremely easy to work with. You can customize these soap bases by adding your preferred fragrance oils and enhancers, too!
tips to remove soda ash from finished soap bars
Now, if you’re committed to making soap the old-fashioned way and you find yourself with an ashy set of bars, you can still treat them and remove the ash!
use a handheld steamer
To steam off your soda ash, simply hold the steamer about 1 - 5 inches above each bar of soap and pass over a few times for 20 - 30 seconds. Once the bars are dry, they will be clean and shiny. This method works best for a light layer of soda ash on top of bars.
perform a cold water scrub
Put on some rubber gloves to make sure you don’t get fingerprints all over your soap, then run the soap under cold water and use a paper towel to gently scrub the areas that have soda ash. Once it’s gone, rinse off any lather and let the bar dry completely before packaging.
Looks like you’re all set to get yourself out of any ashy situations! We can’t wait to see your lovely soap bars and encourage you to share them so we can feature them by posting a photo on Instagram and tagging us @makesy – our maker community loves seeing other makers get creative with their creations.
Looking for more soap making tips? Learn how you can stop your soap from sweating or make your soap more moisturizing.
Happy making!


